Transform Your Barn With These Roofing Installation Tips
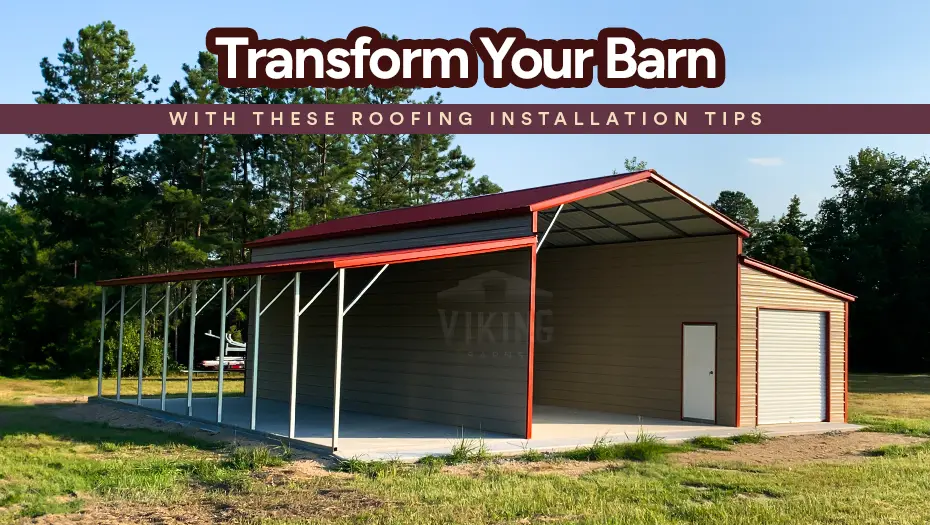
Adding any type of renovation project to your weekend to-do list is a huge task, especially if it needs to be completed once started, such as roof installation. Hiring a professional may seem easier, but the rise in labor cost, about $400 per 100 sq. ft. for a metal roof, gives most of us a cold breeze. So, the question of how to install metal roofing on barn style roof becomes apparent.
If you are looking to spruce up your farm barn and give it a fresh look, consider these roofing installation tips. We will start with tools that you need to keep handy, along with a personal safety kit, a sturdy ladder [to ensure you don’t fall off while working], and proper material.
Before starting, you must know that some locals may require you to secure a permit before starting any construction or repair project. So, check in with your local municipality to be sure you have the official permission. Now, let’s begin.
Gather Right Equipment & Tools For Installing Metal Barns’ Roof
Below are some essential tools that might be useful when installing metal barns’ roof. Some of these tools might already be in your tool kit.
| Tools | Ladder, Single removal shovel, hammer tacker, ripper, pry bar, utility knife, roofing hatchet, cordless power drill, pneumatic nail gun, wheelbarrow, caulking gun, framing square, tin snips, general toolkit, magnetic sweeper, chalk line kit & measuring tape, roof ladder hooks, non-slip shoes, tool belt, broom, metal shear. |
| Safety Gears | Gloves, goggles, protective clothing, safety harness, hard hat, toe protection, reflective vest, ladder stabilizer, first aid kit, and fall-saver insulation [safety net to prevent falling]. |
| Materials | Metal roof panels, screws, nails, ridge cap, ice & water shield, gable trim, sidewall flashing, metal roof sealants, butyl tape, roof vent boots, inside/ outside foam closure strips. |
Pro Tips On How To Install Barn Style Metal Roof
Tip #1. Assess Your Current Barn Roof Situation
Take the ladder and do a roof inspection. Gauging the current condition of the roof will let you know where to start taking action. Now, get inside the barn and take a look for incoming specks of light. Check the insulation, posts, beams, braces, and other roof supporting frames to know if any of those need replacement.
Tip #2. Choose The Right Type Of Metal Roofing Material
But what is the roof style of a barn? These are some common styles you may come across.
- Gable roof – it has two slopes meeting at the central ridge. It has the look of a regular roof-style barn.
- Gambrel roof – it has two slopes on each side, with the lower slope being steeper. It is more like a step-down roof metal barn or a Carolina barn.
- Monitor roof – it has a raised center with a gable roof. This is also known as a monitor barn or raised center aisle barn.
- Hip roof – it has four sides with a single raised peak and gentle slope.
- Shed roof – it has a single slope and is commonly used when building a lean-to barn or loafing shed.
- A-frame roof – It is similar to a gable roof but has a steeper slope and a triangle shape. It is ideal for areas with heavy snowfall and most metal barns.
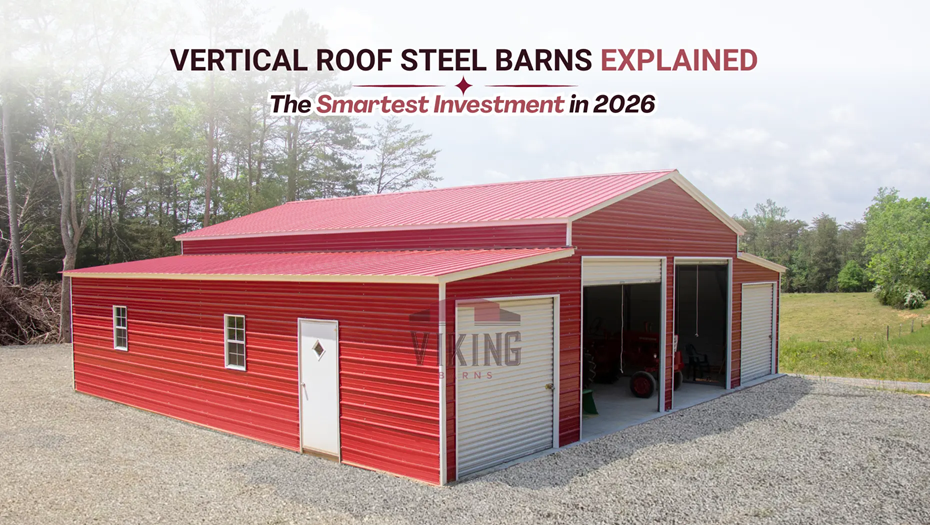
To avoid keeping up with high-maintenance barn roof styles, choose a corrugated, A-frame style and vertical metal roofing that comes with extra endurance and greater durability.
Tip #3. Prepare The Surface For Installation
- Clean the existing surface and repair any damage to the frame that will hold the panels in place. Once done, now you can install the underlayment. It gives an extra barrier against moisture.
- Ensure that the underlayment is laid flat without any gaps or bumps.
- Ensure that underlayment covers the edges by at least 6”. Finally, secure it with cap roofing nails to be sure it stays in place.
Tip #4. Measure & Cut Panels
Measure your roof to get an idea of what size and how many panels you will need. You can trim or shave the metal panel to fit. One of the best tips for choosing the color of roof panels is to look for the functionality and overall aesthetic of your barn. We suggest avoiding cutting along the seams as they can be potential weak points for water leakage if not properly sealed.
Tip #5. Install The Roof Panel Correctly
There are many types of metal roof panels, such as flat seam, batten seam, corrugated, metal shingles, and standing seam. For example, to place a vertical corrugated metal panel correctly, the two panels must align and overlap with the adjacent one and be secured with a fastener. We offer matching color screws that give a seamless appeal.
Try driving screws straight at 90° without making any angle. When driving screws, be sure not to overtight or under-tight it. Tighten the screws enough to compress the rubber gasket to the edge of the screw head but not beyond it.
Tip #6. Bend Trim Ends
You can cut and bend the trim around the edges. Ensure they are wrapped around the corners and edges to make them watertight and for a neat finish. Once completed, you can add structural metal trim to hold vertical panels in place for your metal barn. We have 12+ color choices for roof panels and trim.
You can make them monochromatic or choose a complementary color.
Tip #7. Overlap & Splice Trims
Splice the part where the two trims meet. You can start by cutting the bottom hem of the underlapping trim and installing it with sealant on top. Make sure they are tight and secured.
Tip #8. Secure Ridge Cap
In the case of a vertical roof, a ridge cap is necessary. Start by placing a piece of ridge cap on the roof and mark its bottom edges on each side. Repeat per 10’ this along the ridge. Install closure to avoid debris or water from entering under the cap, and apply sealant tape. Position the ridge cap over the sealant, ensuring it overlaps the closure strips.
Make sure the overlap of the ridge cap is at least 6” for a continuous watertight seal. Finish it up with a silicone seal.
Tip #9. Seal & Finish For Durability
Finally, apply seals around the joins, edges, and any place where you find potential gaps. This will make any barn roof style weathertight. One of the ways to keep birds & pests away from the barn is to seal it properly.
Lastly, clean up all the metal shaving and remove any metal pieces lying on the roof. They might come in contact with moisture or rub against the metal surface, causing it to develop rust.
Maintenance Tips For Long-Lasting Protection
- Schedule Inspection: Though metal roofs are meant to last, to ensure that they remain fully functional, you can maintain a monthly inspection routine.
- Check: Check for signs of fading paint, minor rusting, gaps, or holes.
- Address Issues Promptly: If you find any issue, fix it before it turns into a major fiasco.
- Clean at Regular Intervals: You can schedule cleaning twice a year, one after autumn and before the arrival of winter and another during spring.
Elevate Your Barn Roofing Game With Viking Barns
Start by removing old roofing material, clean & prepare the surface, and follow all the tips as stated above. Take your time to ensure each sheet is placed properly and secured with a fastener for a long-lasting roof that endures all weather conditions. If you are looking for a metal barn with a durable roof that stands all weather, call us at (704) 579-6966 for a free quote and the best pricing.



 Alabama AL

 American Steel Carports Inc.